Minute Graham Cracker Crust: Your Failproof Guide to Homemade Pies
Do you love the idea of homemade pies and cheesecakes but find the thought of wrestling with traditional pastry intimidating? You're not alone. Many aspiring bakers shy away from creating their own delectable desserts, convinced that a perfect crust is beyond their reach. But what if we told you there's a simple, buttery, and utterly irresistible foundation that comes together in mere minutes, making you a dessert hero overnight? Enter the homemade graham cracker crust – your new secret weapon for effortless, show-stopping treats. This isn't just a convenient alternative; it's a game-changer, promising a crisp, flavorful base that far surpasses anything you can buy pre-made. Get ready to discover the ultimate
simple graham cracker crust recipe that will transform your baking adventures.
Why Homemade Beats Store-Bought Every Time
Forget those flimsy, often stale, store-bought crusts that crumble at the slightest touch and offer little in the way of flavor. Once you experience the joy of a truly homemade graham cracker crust, you'll wonder why you ever settled for less. The difference is profound, both in taste and texture.
A homemade crust offers:
- Unmatched Flavor: Freshly ground graham crackers, combined with real butter and just the right touch of sugar, create a rich, comforting flavor profile that complements virtually any filling. It's a taste that speaks of quality and care.
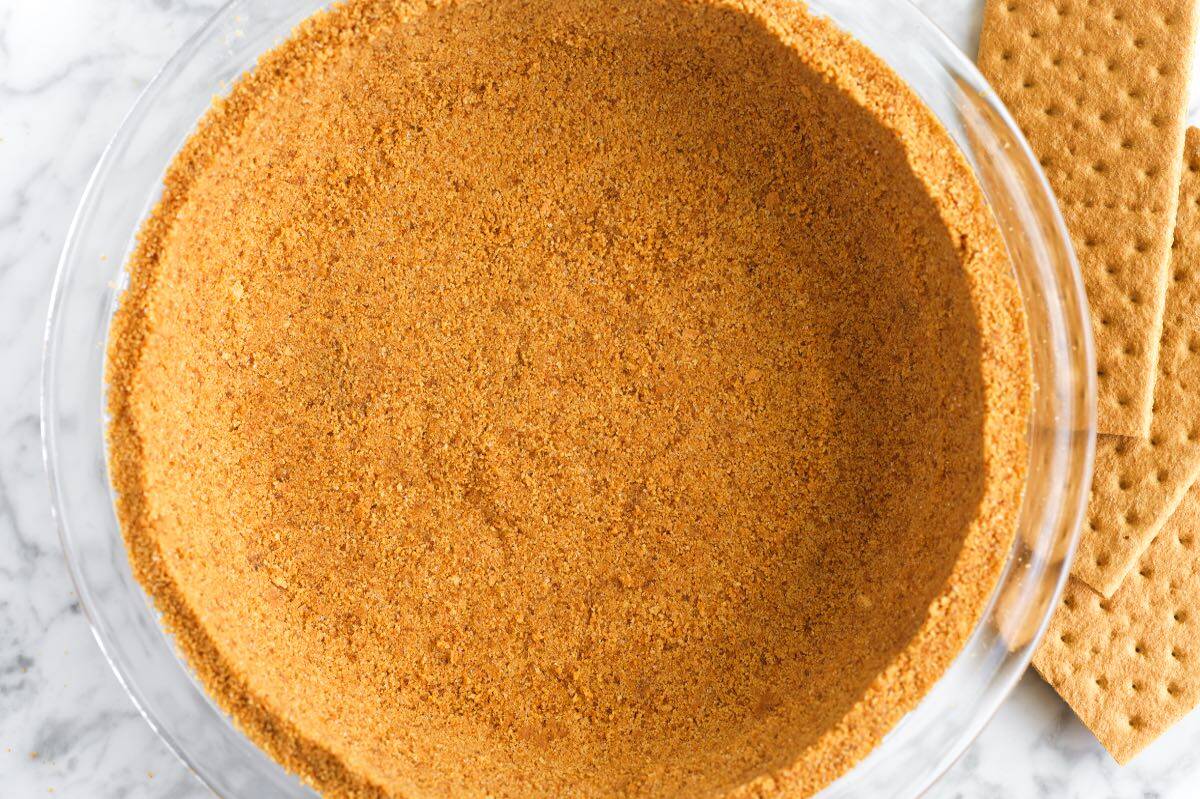
- Superior Texture: From perfectly fine crumbs to a satisfyingly crisp bite, your homemade crust will have an ideal texture that holds its shape beautifully, whether it's baked to golden perfection or chilled to a firm, no-bake base. The coarse, sandy texture when mixed, which then compacts into a sturdy shell, is something pre-packaged versions simply can't replicate.
- Ingredient Control: You choose the quality of your butter, the brand of graham crackers, and the type of sugar. This allows you to tailor the crust to your preferences and ensures no unwanted additives or preservatives find their way into your dessert.
- Cost-Effectiveness: Making your own crust from scratch is often more economical than purchasing pre-made versions, especially if you buy whole graham crackers in bulk.
- The "Special" Factor: There's an undeniable satisfaction in presenting a dessert where every component, right down to the crust, was made with your own hands. It elevates a simple pie or cheesecake into something truly special.
This
easy graham cracker crust recipe isn't just about convenience; it's about elevating your desserts to a new level of deliciousness.
The Core Three: Ingredients for Your Simple Graham Cracker Crust Recipe
The beauty of this failproof crust lies in its minimal ingredient list. You only need three pantry staples to create a versatile and delicious base for countless desserts.
1. Graham Crackers: The Foundation of Flavor
Graham crackers are the star of the show, providing that distinct, slightly sweet, and earthy flavor.
- Whole Crackers vs. Pre-Crushed Crumbs: You have options! Buying whole graham crackers is often more economical and allows for a fresher crumb. However, pre-crushed graham cracker crumbs offer unmatched convenience. Whichever you choose, opt for a well-known, reputable brand. Many bakers agree that name-brand graham crackers offer a superior taste profile that truly shines in the crust.
- How Many Graham Crackers? Graham cracker sizes can fluctuate over time. To ensure accuracy, it's best to measure by weight or by the approximate number of rectangular sheets. For roughly 1½ cups of graham cracker crumbs (the typical amount for a standard 9-inch pie plate), you'll need about 10 to 11 full rectangular sheets. If you're measuring by weight, aim for approximately 170g of crumbs.
2. Sugar: The Sweetener and Binder
Sugar not only sweetens the crust but also plays a role in its structure and caramelization when baked.
- Granulated Sugar: This is the most common choice, providing a clean sweetness.
- Powdered Sugar (Confectioners' Sugar): Can be used for an even finer texture and a slightly softer crumb, as it dissolves more readily.
- Brown Sugar: For a deeper, richer, and slightly molasses-like flavor, brown sugar is an excellent alternative. It adds a wonderful depth, especially appealing for fall-inspired pies or chocolate desserts.
Experiment with different sugars to find your preferred taste and texture!
3. Butter: The Golden Glue
Melted butter is crucial for binding the crumbs together, ensuring your crust holds its shape and develops a delightful crispness.
- Unsalted vs. Salted Butter: While many baking recipes strictly call for unsalted butter to control sodium levels, in a graham cracker crust, the difference is often negligible. Feel free to use salted butter if that's what you have on hand; the subtle saltiness can even enhance the overall flavor.
- Melted and Ready: Always use melted butter. This allows it to evenly coat all the crumbs, creating a uniform, compact crust.
These three simple ingredients combine to create a foundation that will make your desserts sing. For even more detailed insights into perfecting this base with minimal ingredients, explore our guide on
Easy 3-Ingredient Graham Cracker Crust: Better Than Store-Bought.
Crafting Your Crust: Step-by-Step Perfection
Making a perfect
homemade graham cracker crust is incredibly straightforward. Follow these steps for a failproof result every time.
1. Grinding Your Graham Crackers
The first step is to turn your graham crackers into fine, uniform crumbs.
- Food Processor: This is the quickest and most efficient method. Simply break the crackers into pieces and pulse until they resemble fine, coarse sand. Be careful not to over-process, or you'll end up with a paste.
- Rolling Pin Method: If you don't have a food processor, place the crackers in a sturdy plastic bag (like a freezer bag) and crush them with a rolling pin or the bottom of a heavy pan. This method can be therapeutic and yields equally good results, though it may take a little more effort to achieve consistent fineness.
Aim for a texture that's like "very coarse sand" – fine enough to compact, but with enough texture to provide a pleasant bite.
2. Mixing the Ingredients
Once your crumbs are ready, it's time to bring everything together.
- Combine Crumbs and Sugar: In a medium bowl, combine your graham cracker crumbs and chosen sugar. Mix them thoroughly with a fork to ensure the sugar is evenly distributed.
- Add Melted Butter: Pour in the melted butter. Continue mixing with a fork. Many experienced bakers prefer a fork over a spoon or spatula for this step, as its tines work through the crumbs more effectively, ensuring every crumb is coated without overworking the mixture. The mixture should resemble wet sand and hold together when squeezed.
3. Pressing into the Pan
This is arguably the most critical step for a sturdy, perfect crust.
- Start with Your Hands: Pour the crumb mixture into your pie plate, tart pan, or springform pan. Begin by pressing the crumbs firmly into the bottom and up the sides of the pan with your fingers. This allows you to sculpt the edges and ensure an even thickness.
- Compact with a Tool: For the ultimate compact crust, switch to a flat-bottomed measuring cup or a glass. Use it to firmly press the crumbs down, especially on the bottom of the pan, working in circular motions. The secret here is to *really* compact them. The denser the crust, the less likely it is to crumble when sliced and the better it will hold up to moist fillings.
- Pan Sizes: This recipe is typically calibrated for a standard 9-inch pie plate. However, it's easily adaptable for 8-inch pans (you might have a little extra mixture) or even individual tartlets. For larger pans or thicker crusts, simply scale up the ingredients proportionally.
Baked vs. No-Bake: When to Do What
The versatility of this
simple graham cracker crust recipe shines in its ability to be used baked or unbaked.
- No-Bake Crust: For many no-bake cheesecakes, cream pies (like butterscotch or banana cream), or simply when you want a quick dessert, chilling the crust in the refrigerator for at least 30 minutes (or ideally an hour) is sufficient. The butter will firm up, setting the crust.
- Baked Crust: If you desire a crunchier crust, or if your recipe calls for a baked filling (like a baked cheesecake or a chocolate chess pie), you’ll want to pre-bake the crust. Bake in a preheated oven at 325°F (160°C) for about 10 minutes, or until lightly golden and fragrant. Allow the crust to cool completely on a wire rack before adding your filling. This step is crucial, as adding a filling to a warm crust can result in a soggy bottom.
To master the various applications and understand the nuances between baked and no-bake versions, dive into our comprehensive guide:
Master the Perfect Graham Cracker Crust: Baked or No-Bake Versatility.
Unleashing Versatility: Beyond the Basic Pie
The humble graham cracker crust is far more versatile than just a base for classic key lime pie. Its neutral-sweet flavor profile makes it a fantastic canvas for an array of desserts, inviting creativity in your kitchen.
Consider these exciting applications:
- Cream Pies: Think no-bake chocolate cream, coconut cream, banana cream, or even a luscious no-bake pumpkin pie for the holidays.
- Cheesecakes: From classic New York-style baked cheesecakes to refreshing no-bake versions, the graham cracker crust provides the perfect counterpoint to the rich, creamy filling.
- Tarts: Mini fruit tarts, chocolate ganache tarts, or lemon tarts all benefit from the crisp, buttery texture of this crust.
- Individual Desserts: Press the mixture into muffin tins for single-serving cheesecakes, or layer crumbs in parfait glasses for a delightful textural element.
- Bars and Squares: Use it as the base for layered dessert bars, adding a crunchy bottom to everything from lemon bars to s'mores bars.
This crust is a true kitchen staple, ready to elevate any dessert idea you dream up.
Expert Tips for Your Failproof Graham Cracker Crust
To ensure your homemade crust is always a resounding success, keep these expert tips in mind:
- Don't Skimp on Quality: While it's a simple recipe, using good quality graham crackers and butter will make a noticeable difference in the final taste.
- The Power of Compacting: We can't stress this enough – press those crumbs down firmly! A well-compacted crust is a sturdy crust that won't fall apart when you slice into your masterpiece.
- Cooling is Key: If you bake your crust, ensure it cools completely before adding your filling. A warm crust can cause fillings to melt or become watery, leading to a soggy disaster.
- Flavor Enhancements: Feel free to customize your crust! A pinch of cinnamon, nutmeg, or even a tiny amount of fine sea salt can elevate the flavor. For chocolate desserts, you could even use chocolate graham crackers or add a tablespoon of cocoa powder to the mixture.
- Storage Savvy: Unused graham cracker crumbs can be stored in an airtight container for future use. A prepared, unbaked crust can be covered and refrigerated for up to 3 days, or frozen for up to a month. A baked and cooled crust can also be frozen, well-wrapped, for a similar duration.
This
simple graham cracker crust recipe is truly a culinary superpower for any home baker. It’s quick, adaptable, and consistently delivers a superior foundation for an endless array of sweet treats. Say goodbye to the stress of traditional pastry and hello to a world of easy, delicious homemade desserts. With just three ingredients and a few minutes of your time, you'll be creating pies, cheesecakes, and tarts that look and taste like they came straight from a gourmet bakery. It's time to make this failproof recipe a permanent staple in your kitchen!