Unlock Baking Simplicity: Your Ultimate Guide to an Easy 3-Ingredient Graham Cracker Crust
Imagine a dessert base that’s effortlessly simple, takes mere minutes to prepare, and tastes infinitely better than anything you could buy pre-made. This isn't a baking fantasy; it's the reality of mastering a truly exceptional homemade graham cracker crust. Forget the stress of traditional pastry; this failproof, versatile, and utterly delicious
Minute Graham Cracker Crust: Your Failproof Guide to Homemade Pies is about to become your new kitchen staple. With just three basic ingredients, you can whip up a buttery, crunchy foundation perfect for an array of pies, cheesecakes, and tarts, elevating every dessert to something truly special.
For years, home bakers have relied on this time-tested approach to create a base that not only holds up beautifully but also imparts a delightful flavor that complements almost any filling. Whether you're a seasoned pro or just starting your baking journey, this simple graham cracker crust recipe will transform your dessert game, ensuring you never reach for a store-bought crust again.
Why Homemade is Always Best: The Superior Simple Graham Cracker Crust Recipe
The allure of a store-bought graham cracker crust is undeniable – convenience. But that convenience often comes at a significant cost: flavor, texture, and overall quality. Once you experience the rich, buttery, and perfectly crunchy texture of a homemade version, you'll understand why it's worth the extra five minutes of effort. This isn't just a marginal improvement; it's a monumental leap in taste and integrity.
A homemade graham cracker crust offers:
- Unmatched Flavor: Freshly crushed graham crackers, real butter, and just the right amount of sugar combine to create a depth of flavor that pre-packaged versions simply can't replicate. The graham cracker flavor shines through, making it a star in its own right, not just a vessel.
- Superior Texture: Say goodbye to dry, crumbly, or overly soft store-bought crusts. This simple graham cracker crust recipe yields a base with the perfect balance of tender crumble and satisfying crunch, holding its shape beautifully whether baked or unbaked.
- Ingredient Control: You choose the quality of your ingredients, ensuring no unwanted additives or artificial flavors make their way into your dessert. This is particularly appealing for those who prefer clean eating or have specific dietary considerations.
- Versatility and Reliability: A homemade crust stands up to a wider variety of fillings, from light, no-bake mousses to rich, dense cheesecakes. It bakes beautifully to a golden crisp or sets perfectly in the fridge for chilled desserts, making it ideal for Master the Perfect Graham Cracker Crust: Baked or No-Bake Versatility.
This simple graham cracker crust recipe is more than just a convenience; it's an investment in the quality and enjoyment of your baking.
The Magic Three: Essential Ingredients for Your Perfect Crust
The beauty of this simple graham cracker crust recipe lies in its minimalist approach. You only need three common pantry staples to create something truly extraordinary.
- Graham Crackers: The Foundation
- Whole vs. Crumbs: You have the option to start with whole graham cracker sheets or pre-packaged graham cracker crumbs. Starting with whole crackers is often more economical and allows for a fresher taste, while pre-crushed crumbs offer ultimate convenience.
- Quantity Matters: Graham crackers have subtly shrunk over the years. To get the ideal 1½ cups of graham cracker crumbs needed for a standard 9-inch pie plate or springform pan, you’ll typically need about 10-11 rectangular graham cracker sheets (approximately 170g).
- Brand Choice: While generic brands might tempt your wallet, many bakers swear by name-brand graham crackers for their superior flavor profile. This makes a noticeable difference in the final taste of your crust.
- Crushing Methods: You can achieve perfect crumbs in two main ways:
- Food Processor: This is the fastest and most efficient method. Simply pulse whole crackers until fine, even crumbs form.
- Rolling Pin: For a more rustic approach or if you don't have a food processor, place crackers in a zip-top bag and crush them with a rolling pin or the bottom of a heavy pan until finely ground.
- Sugar: The Sweetener and Binder
- Granulated Sugar: This is the most common choice, providing a classic sweetness and a slight crispness.
- Powdered Sugar: Using powdered sugar can yield a slightly finer, more delicate crust texture, as it dissolves more readily.
- Brown Sugar: For a subtle hint of caramel and a richer flavor, brown sugar is an excellent alternative, especially for pies with warm spices or nutty fillings. Don't be afraid to experiment with what you have on hand – each offers a slightly different nuance.
- Butter: The Unifying Element
- Unsalted vs. Salted: Most baking recipes call for unsalted butter to allow precise control over the salt content. However, in a graham cracker crust, the difference between unsalted and salted butter is often negligible, as the graham crackers and sugar provide the dominant flavors. Feel free to use whichever you prefer or have available.
- Melted and Warm: It's crucial that your butter is melted. This allows it to fully coat the graham cracker crumbs, acting as the binding agent that holds the crust together when pressed. Ensure it's not scorching hot, just warm and liquid.
Step-by-Step: Crafting Your Simple Graham Cracker Crust
Making this simple graham cracker crust recipe is incredibly straightforward, even for novice bakers. Follow these steps to achieve perfection every time.
- Prepare Your Crumbs:
- Measure out 1½ cups of graham cracker crumbs. If starting with whole crackers, crush them using a food processor or a rolling pin until they resemble fine, even crumbs. Avoid large chunks, as these can create weak spots in your crust.
- Combine Dry Ingredients:
- In a medium bowl, combine the graham cracker crumbs with your chosen sugar (granulated, powdered, or brown). Mix them thoroughly with a fork until well combined. Using a fork is often preferred by experienced bakers as it helps keep the mixture light and crumbly before adding the butter.
- Add the Butter:
- Pour the melted butter over the crumb and sugar mixture. Continue mixing with a fork, ensuring every crumb is moistened. The mixture should resemble very coarse, wet sand and hold together when lightly squeezed in your hand. If it seems too dry, add butter one teaspoon at a time until the desired consistency is reached.
- Press into Your Pan:
- Transfer the mixture to your chosen pie plate or springform pan (typically a 9-inch pan). Start by pressing the mixture firmly into the bottom of the pan, spreading it evenly.
- Next, work your way up the sides, creating an even edge. The secret to a stable crust is *compaction*. Use your hands to initially form the crust, then switch to the flat bottom of a drinking glass or a sturdy measuring cup to really press the crumbs down, especially along the bottom and sides. The harder you press, the less likely your crust is to crumble when sliced.
- Chill or Bake:
- For No-Bake Desserts: Simply place the pressed crust in the refrigerator for at least 30 minutes to firm up before adding your filling. This allows the butter to solidify and bind the crumbs.
- For Baked Desserts or a Crunchier Crust: Preheat your oven to 325°F (160°C). Bake the crust for 8-10 minutes, or until lightly golden and fragrant. Baking helps to toast the crumbs further, creating an even crunchier texture and providing a stronger barrier against moisture from wet fillings. Allow the crust to cool completely on a wire rack before filling.
Expert Tips for a Failproof Simple Graham Cracker Crust Recipe
Even with a simple recipe, a few expert insights can elevate your results from good to absolutely perfect.
- Don't Skimp on Crushing: Ensure your graham cracker crumbs are fine and uniform. Large pieces can create gaps and make your crust prone to crumbling.
- The Fork Advantage: Mixing with a fork truly helps to incorporate the butter evenly without overworking the mixture, resulting in a perfectly crumbly yet cohesive crust.
- Compact, Compact, Compact: This cannot be stressed enough. A well-compacted crust is a sturdy crust. Use firm, even pressure with a flat-bottomed object to create a solid foundation for your dessert.
- Cool Completely: If you bake your crust, *always* allow it to cool completely before adding any filling. Adding a cold filling to a warm crust can result in condensation, leading to a soggy bottom.
- Flavor Variations: Get creative! Add a pinch of cinnamon, nutmeg, or even a tiny amount of cardamon to your dry crumb mixture for an extra layer of flavor. A small pinch of salt can also enhance the overall taste, balancing the sweetness. For citrus-based pies, a teaspoon of lemon or lime zest mixed into the crumbs is a game-changer.
- Pan Size Flexibility: This recipe is typically perfect for a 9-inch pie plate or a 9-inch springform pan. For smaller tarts or mini cheesecakes, simply halve the recipe.
- Storage: An unbaked, pressed crust can be tightly covered and refrigerated for up to 2-3 days or frozen for up to a month. A baked crust can be stored at room temperature for a day or refrigerated for a few days before filling.
Versatile Pairings: What to Fill Your Graham Cracker Crust With
The beauty of this simple graham cracker crust recipe is its incredible versatility. Its classic, subtly sweet flavor profile makes it an ideal companion for a vast array of dessert fillings.
Consider these delicious possibilities:
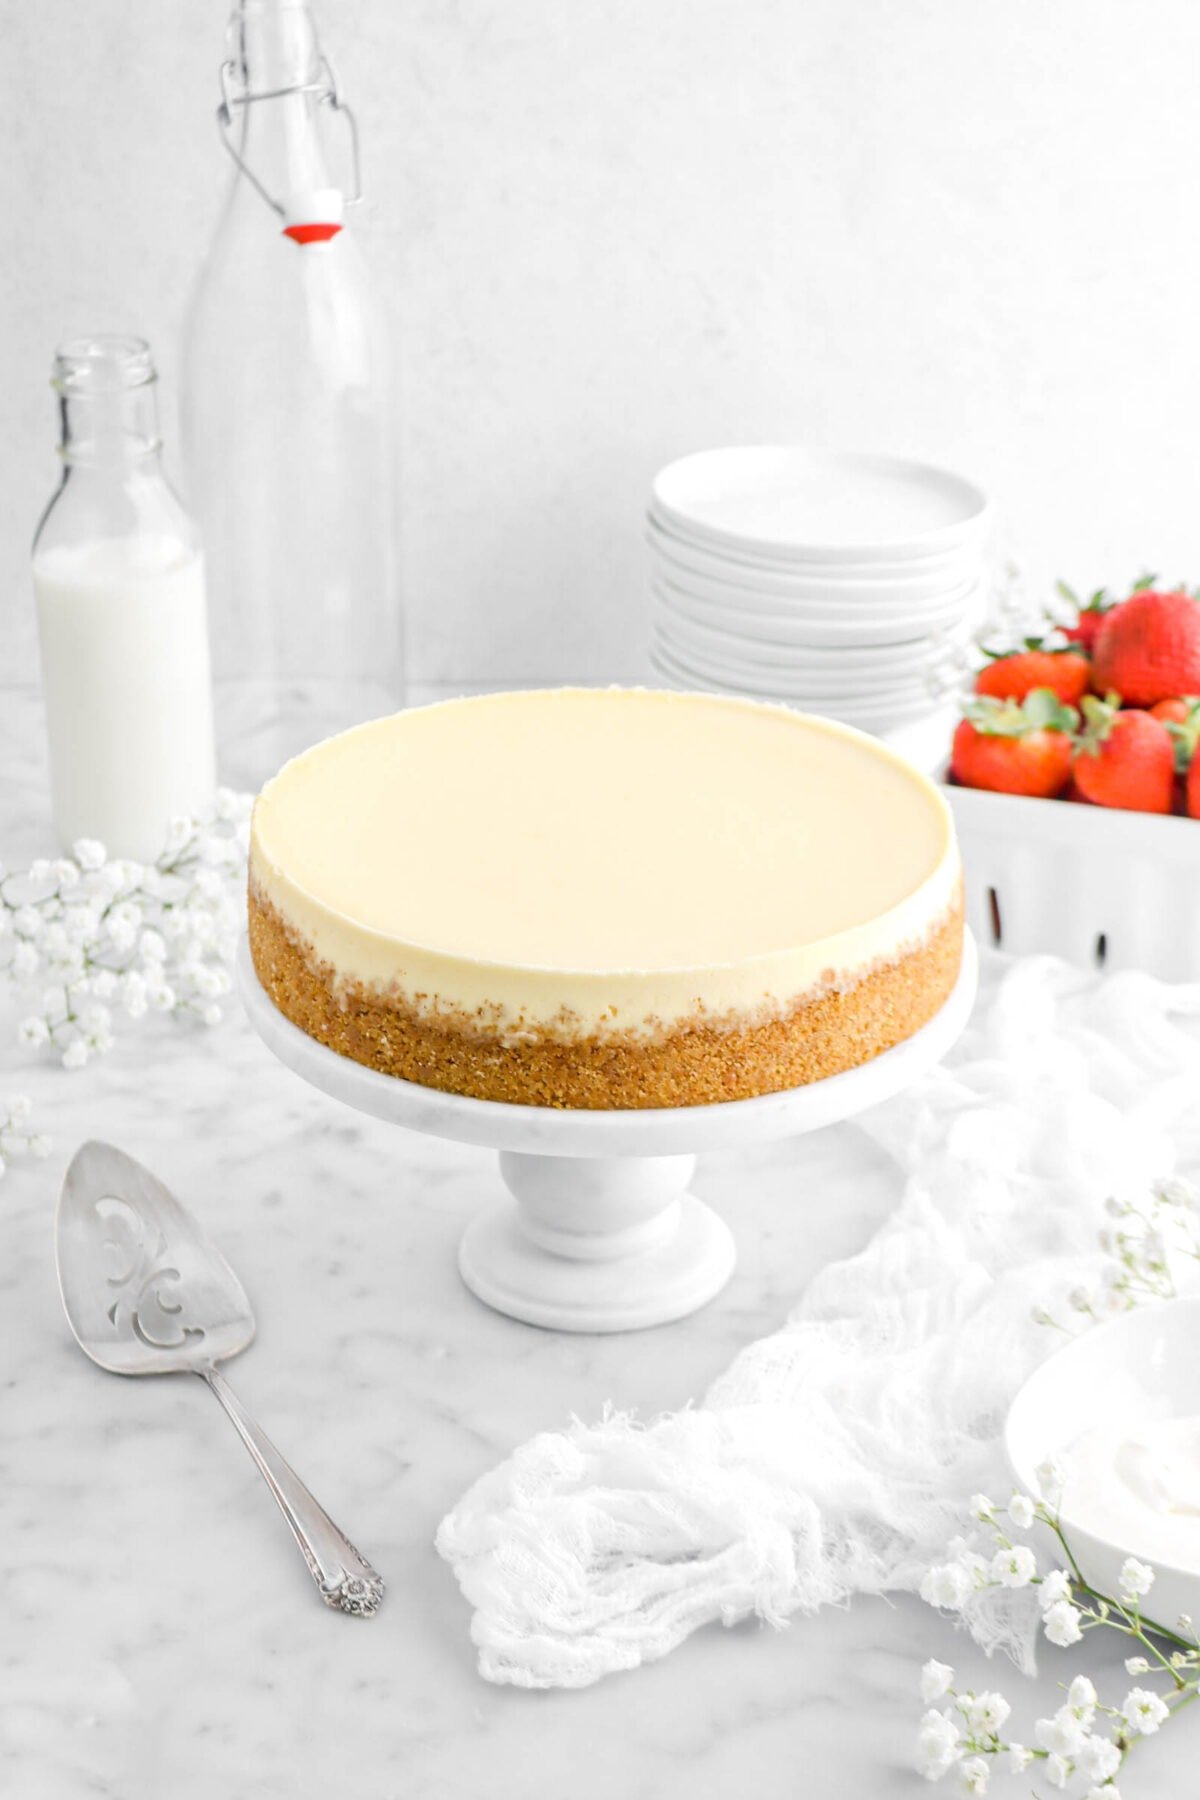
- Cheesecakes: The quintessential pairing! Perfect for both classic baked cheesecakes (like New York style) and lighter no-bake cheesecakes.
- Cream Pies: From rich chocolate cream pie to tropical coconut cream or banana cream pie, the graham cracker crust provides a delightful contrast to the creamy filling.
- Key Lime Pie: The tangy sweetness of key lime pie finds its perfect match in the buttery, crunchy graham cracker base.
- No-Bake Wonders: Think no-bake pumpkin pie, luscious butterscotch pie, or even a simple chocolate silk pie.
- Fruit Tarts: A crisp graham cracker crust filled with pastry cream and topped with fresh berries makes for an elegant and easy dessert.
- Ice Cream Pies: A chilled graham cracker crust is the ideal home for your favorite ice cream, topped with hot fudge and whipped cream.
This crust is truly a blank canvas for your dessert imagination.
Conclusion
There you have it – the definitive guide to creating an easy, delicious, and utterly superior 3-ingredient graham cracker crust. By investing just a few minutes of your time and using simple pantry ingredients, you can elevate your homemade desserts from good to unforgettable. Ditch the dry, bland store-bought versions and embrace the rich, buttery crunch that only a homemade crust can provide. This simple graham cracker crust recipe isn't just a recipe; it's a foundation for countless joyful baking adventures, promising perfection and praise with every slice. So, go ahead, gather your ingredients, and get ready to transform your dessert experience!